“Refreshing Minty Lemon Limeade” and “Baked Tomatoes with Mint Cream”

Having recently written in general terms about ways to use mint – see my post Mint: It Grows Like a Weed, but That’s Okay from 5/15/12 – I thought it appropriate to offer a few more mint recipes every now and then. Both of the recipes below contain mint ingredients employed to a subtle effect. Enjoy!

 Refreshing Minty Lemon Limeade

2 1/4 c. ice water

1/2 c. fresh lemon juice

1/2 c. fresh lime juice

3/4 c. mint simple syrup, or to taste

Stir ingredients together. Chill until serving. Serve over ice.  Garnish with mint leaves, or with lemon or lime slices.

Baked Tomatoes with Mint Cream

(based on a recipe from Scottish Heritage Food and Cooking, 2005, Lorenz Books of Anness Publishing, London)

5 large ripe tomatoes

1 c. heavy cream

2 mint leaves

1 T.  mint-infused vodka

1/3 c. crumbled cheese of a good melting variety, such as Monterey Jack

salt and pepper

1. Fill a large stock pot to about half full with water then add a dash of salt and bring to a boil.

2. Meanwhile wash and core tomatoes – a grapefruit knife works well for coring – and then cut an ‘x’ into the bottom of each tomato. Carefully drop tomatoes into boiling water. When the skins start to split, transfer tomatoes to a colander and give a quick rinse with cold water. Allow to cool.

3. Preheat oven to 425 degrees F. While the oven is heating, place the heavy cream in a non-stick pot, add mint leaves and vodka, and allow to simmer over low to medium-low heat. Simmer until the heavy cream is reduced to about 3/4 of a  cup.

4. While the cream simmers, brush a baking dish with olive oil. Slice tomatoes and arrange them in baking dish, allowing them to overlap slightly. Strain the thickened cream over tomatoes. Sprinkle with cheese and then with salt and pepper. Bake for 15 minutes or until the cheese is melted. Serve as a side dish or with a rustic bread for a small but rich meal.

Baked Tomatoes with Mint Cream

Growing and Cooking with Herbs

The Portia Club from Wamego came over today for a tour of the house and garden and a discussion of growing and cooking with herbs. They are a very lovely group of women to chat with.

Here are  some of the things we talked about:

(1) Using herbs in the landscape versus growing them in pots. Some herbs such as Golden Oregano make wonderful groundcovers without being invasive. Some such as Sage are attractive accent plants when in bloom. Parsley is a good plant for butterfly gardens. Anything in the mint family, however, will have a tendency to take over the garden if not harvested on a regular basis and so should be grown in pots. The pots can be placed in the ground, though, if you want to hide the pots in the landscape. Many herbs are suitable for container gardens.  Basil, Parsley, and Cilantro come to mind for potted arrangements as well as some of the fancy Sage varieties.

(2) Herbs want sun. I’ve tried growing herbs in shade to part shade. I haven’t found any that are happy with those conditions. They don’t all like heat, however. Cilantro, for example, will go to seed as soon as it gets hot. So in hot areas, late afternoon shade will help extend its growing season. Others, such as Basil, are very intolerant of cold temperatures. So don’t put basil outside when temperatures might still dip into the 40’s. Grey leaved herbs such as Sage and Lavender are more drought resistant than green leafy herbs such as basil which will need regular watering when it is hot.

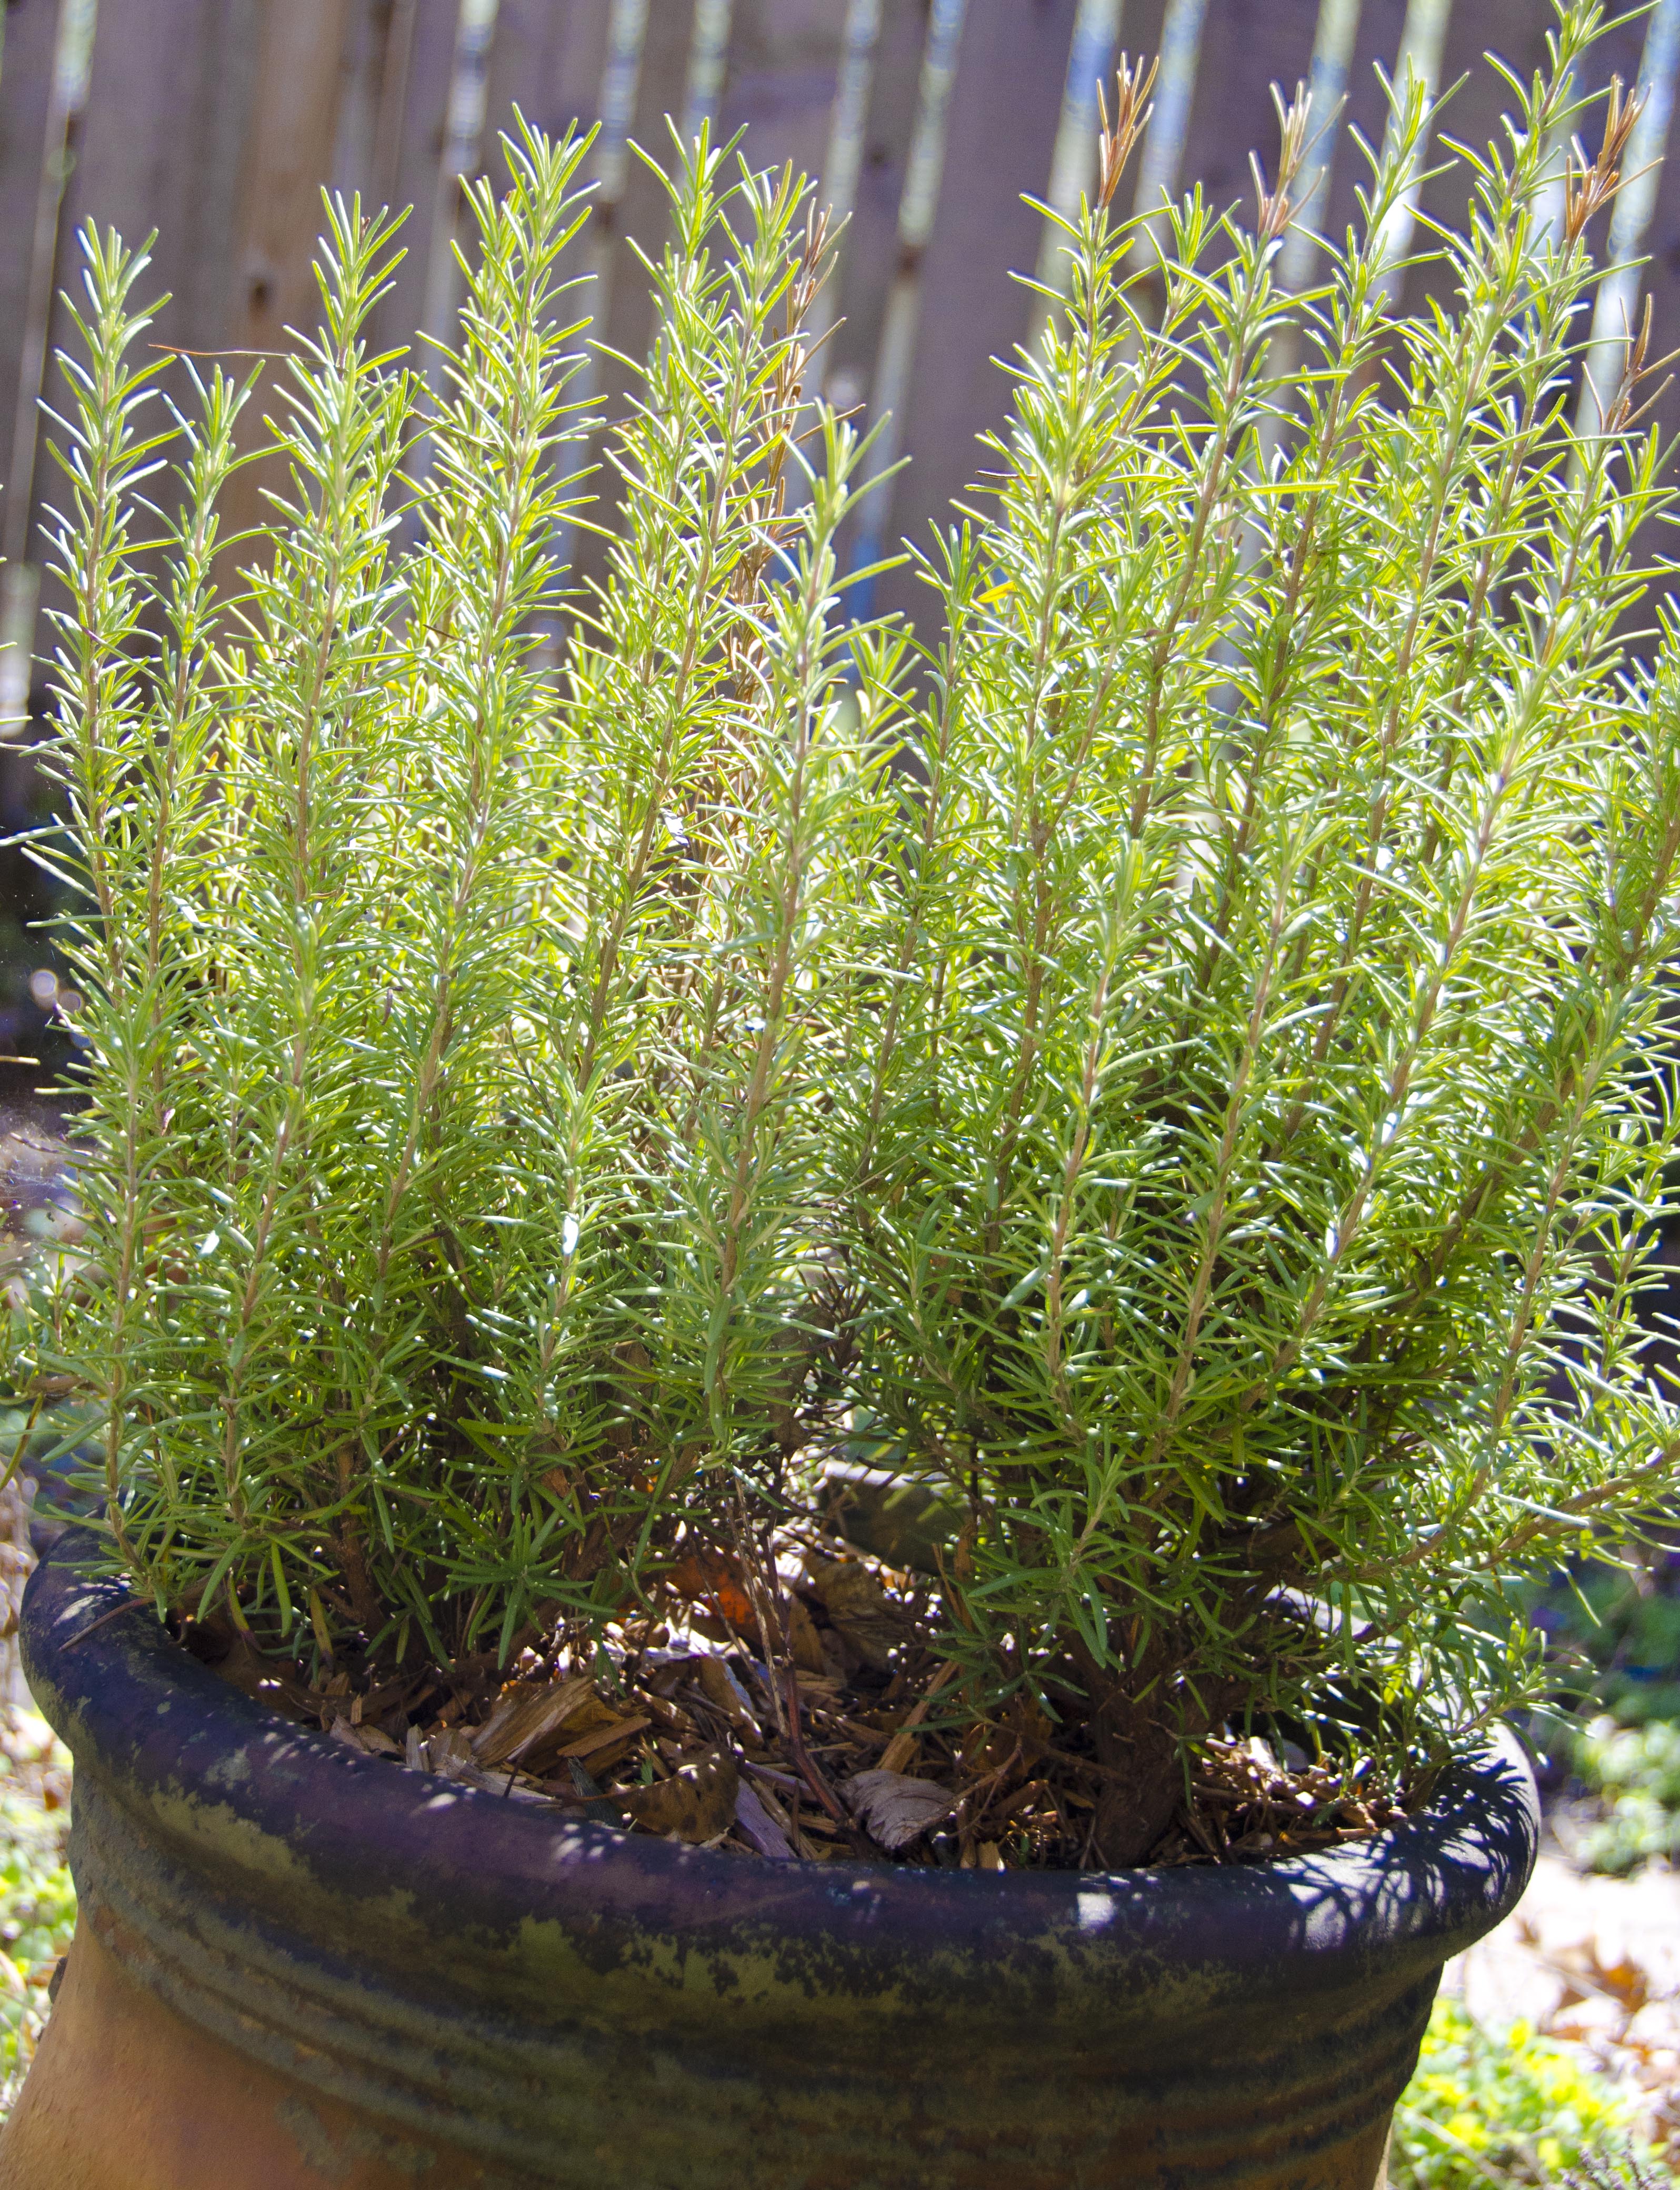
(3) Overwintering of herbs.  This year I left large pots of Rosemary, Oregano, and Spearmint outside over the winter. They came back fine. It was the first winter that I have had luck doing this.  Two things were different from other years. One, of course, was that we had a milder winter – it was still definitely a winter with freezing temperatures, though. The other difference was that I had the herbs in large pots so I think that they had enough soil to give the roots a bit of insulation. Some people have luck bringing their herbs inside for the winter. Expect the herbs to go through a period of adjustment and make sure that they have enough sun if you are going to try this.

(4) Cooking with fresh herbs. When cooking with fresh herbs, the thing to remember is that they are fresh. Their fresh flavor is what you want to come across. I like to use them in cold sauces and dips – added right before serving. Their fresh flavor can also be harnessed by using them in compound butters – in a food processor blend softened butter and herbs with citrus zest, citrus juice and/or spices. Wrap tightly in plastic wrap and refrigerate. If using herbs in a cooked sauce, add them right at the end of cooking to get the best flavor.

(5) Other ways to capture flavor. The flavor of herbs can also be preserved by using them to flavor simple syrups and vinegars. (See my post, The Underrated Chive.) Simple syrup is made by heating sugar and water (either equal parts or twice as much sugar as water) until the sugar is dissolved. Herbs, such as spearmint or lemon balm, can be added during the cooking and allowed to sit in the syrup for about 20 to 30 minutes after removing from heat. They should then be strained out before the syrup is bottled. Simple syrups can be used to flavor drinks such as iced tea or cocktails or to flavor desserts. Flavored vinegars can be added to salad dressings and sauces.

(6) Drying herbs. Generally herbs should be harvested before blooming – unless it is the blooms that you are harvesting –  and before the weather starts to turn cool. The real key to drying herbs, though, is to dry them quickly so that they don’t rot before they are dried out. Herbs such as Rosemary, with a lower moisture content can be suspended in small bunches in an airy, dry space out of direct sunlight. For herbs with a higher moisture content, such as Parsley, the method with which I have had the best luck is spreading the cleaned leaves out on a large baking sheet and placing them in the oven using just the pilot light or the lowest heat until the moisture has evaporated. Then I transfer them to a zip top freezer bag and freeze. Some herbs such as chervil, however, just don’t dry well.

Happy gardening! Happy cooking!

Top photo: Sage, Rosemary & Oregano

Middle photo: Golden Oregano by Day Lilies

Bottom photo: Potted Herbs (Sage, Thyme, Oregano, Thai Basil, Tarragon)

Counting Down to Cinco de Mayo: Shrimp Tacos

Tacos don’t have to be just ground beef and shredded lettuce. There are so many yummy fillings that can go in a taco to make a casual yet delicious meal.  On a gorgeous evening, we love to sit outside and eat shrimp tacos … while drinking margaritas, of course!

Shrimp Tacos

1/2 c. cooked fresh corn kernels

1/2 c. chopped cherry tomatoes

1/3 c. diced orange bell pepper (or other sweet pepper)

1/4 jalapeno pepper, diced

1 T. fresh lime juice

1 T. olive oil

1 lb. raw shrimp, cleaned and shelled

1 clove garlic, minced

1/4 t. ground cumin

1/4 t. ground chipotle

8 fresh corn tortillas

shredded cheese.

(1) Toss together corn, tomatoes, orange bell pepper, jalapeno pepper (optional), and lime juice. Salt and pepper to taste. Set aside.

(2) Preheat a large skillet over medium heat. Add olive oil, shrimp, garlic, cumin and chipotle. Cook, stirring occasionally, just until the shrimp are about two-thirds cooked. Add reserved corn mixture to the skillet. Stir to combine ingredients. Continue cooking until shrimp are fully cooked.

(3) While shrimp finish cooking, warm tortillas. When shrimp are done, place two tortillas on each plate. Top with shrimp mixture then with shredded cheese. Serve right away.

Ahh … Risotto

Risotto is one of those dishes for which I think one really shouldn’t follow a recipe.  Just practice a few times until you learn how to make it the way that you like it. Then you know how to make risotto right. If you try to follow a recipe, you’ll have too much or too little liquid, your rice will be overcooked or undercooked, and it will be too dry or too rich.  So if you don’t already know how to make risotto, here’s what I recommend …

Start with:

Some olive oil

Some arborio rice

A little minced garlic and/or finely chopped white or yellow onion

A lot of vegetable or chicken stock, kept at a simmer

A little dry white wine

Some chopped veggies

Some chopped meat or fish, optional

Some fresh grated parmesan or parmiggiano reggiano cheese

Salt, preferably sea salt

Some fresh ground pepper

(1) Pour some olive oil into a large skillet … enough to almost cover the bottom in a thin layer. Preheat skillet over medium-high heat.

(2) Add some rice, enough to cover the bottom of the pan. Lightly cook the rice in the oil until it turns a pale golden color and almost translucent, shaking the pan occasionally.

(3) Add a little garlic and/or onion. Stir and quickly saute, then add a little of the vegetable or chicken stock … enough to cover the rice in a thin layer. Have a sip of wine.

(4) Simmer until the liquid is absorbed. Once it is absorbed, add a little more stock … again enough to cover the rice in a thin layer. Have another sip of wine … and so forth.

(4) Simmer until the liquid is absorbed. Add enough wine to cover the rice in a thin layer.

(5) Simmer until the wine is absorbed. Add a little more stock … again enough to cover the rice in a thin layer.

(6) Keep adding stock in small amounts, allowing it to completely absorb before the next addition, until the rice is almost cooked to desired consistency. The process up until this point takes about 30 or thirty-five minutes.

(7) Stir in veggies and/or meat or fish. (If the veggies/fish/meat is raw, add a little earlier than if it is already cooked.) Add a little more liquid. Simmer until absorbed.

(8) Continue until the rice has reached the desired consistency – soft, but not mushy – stir in a little butter and then parmesan cheese. The more butter and cheese, the creamier but less healthful the risotto. Salt and pepper to taste.  How much to add is a matter of personal taste.

(9) Garnish as desired. Serve with tossed green salad and Italian bread.

For the risotto that I made tonight, I used garlic, white bulb onions, and yellow bell peppers. Just before it was finished, I divided it into two pans. To the half that was to become my husband’s dinner, I added sliced chicken-pineapple-bacon sausage that I had cooked up while the rice was simmering. To my half, I added left over Scottish salmon from dinner last night. Once you know the basic technique of making risotto, anything is an option! Be creative and enjoy! Let me know if you have any questions … I’ll do my best to answer them.

The Underrated Chive

I enjoy growing herbs and edible flowers. Chives are wonderful to grow because both the greens and the blossoms are edible. My favorite use for snipped chives is mixed into plain Greek yogurt with a little salt and pepper for a veggie dip. I use the chopped blossoms in salads and omelets and whole blossoms for garnishes. I just made a bottle of herbed vinegar with whole chive blossoms, snipped chives, golden oregano leaves and a peeled clove of garlic.

To make vinegar wash herbs and shake well to dry. Add to a sterilized bottle. Top with white vinegar or a blend of white and rice wine vinegar. It is generally recommended that the vinegar be of 5% acidity.

Seal bottle with a cork or plastic cap. Store in a cool dark place for several weeks. The flowers will have a bleached appearance and the vinegar will have picked up color from the herbs. Strain vinegar before using. Use in salad dressings or sprinkle on vegetables.

Rosemary

For this first time ever, I have successfully over-wintered Rosemary in a pot outdoors. I am thrilled to have fresh rosemary to cook with that I thought that I would share my favorite way to use it. Start with fresh rosemary that has been washed and dried off. Put some olive oil and fresh rosemary in a skillet, then warm over medium heat. Once the rosemary has lost its bright green color, remove from pan. Use flavored olive oil right away to flavor eggs, potatoes, asparagus or mushrooms.Image